2023-11-21 · CREATOR · 6 min read
The Ultimate YouTube Setup for Under $500
Are you dreaming of starting a YouTube channel but worried about the costs? Fear not! Creating a high-quality YouTube setup on a budget is not only possible but also easier than you might think. In this post, we’ll dive into how you can assemble the ultimate YouTube setup for under $500, combining efficiency with affordability. From selecting the right camera to ensuring crisp audio and effective lighting, I’ll share my top picks and tips that won’t break the bank. So, let’s get started on your journey to YouTube success without burning a hole in your wallet!
Essential Components of a Budget-Friendly YouTube Setup
Creating an impactful YouTube channel doesn’t require a fortune. With a budget of $500, you can assemble a setup that rivals those of more seasoned YouTubers. Here’s how to make every dollar count:
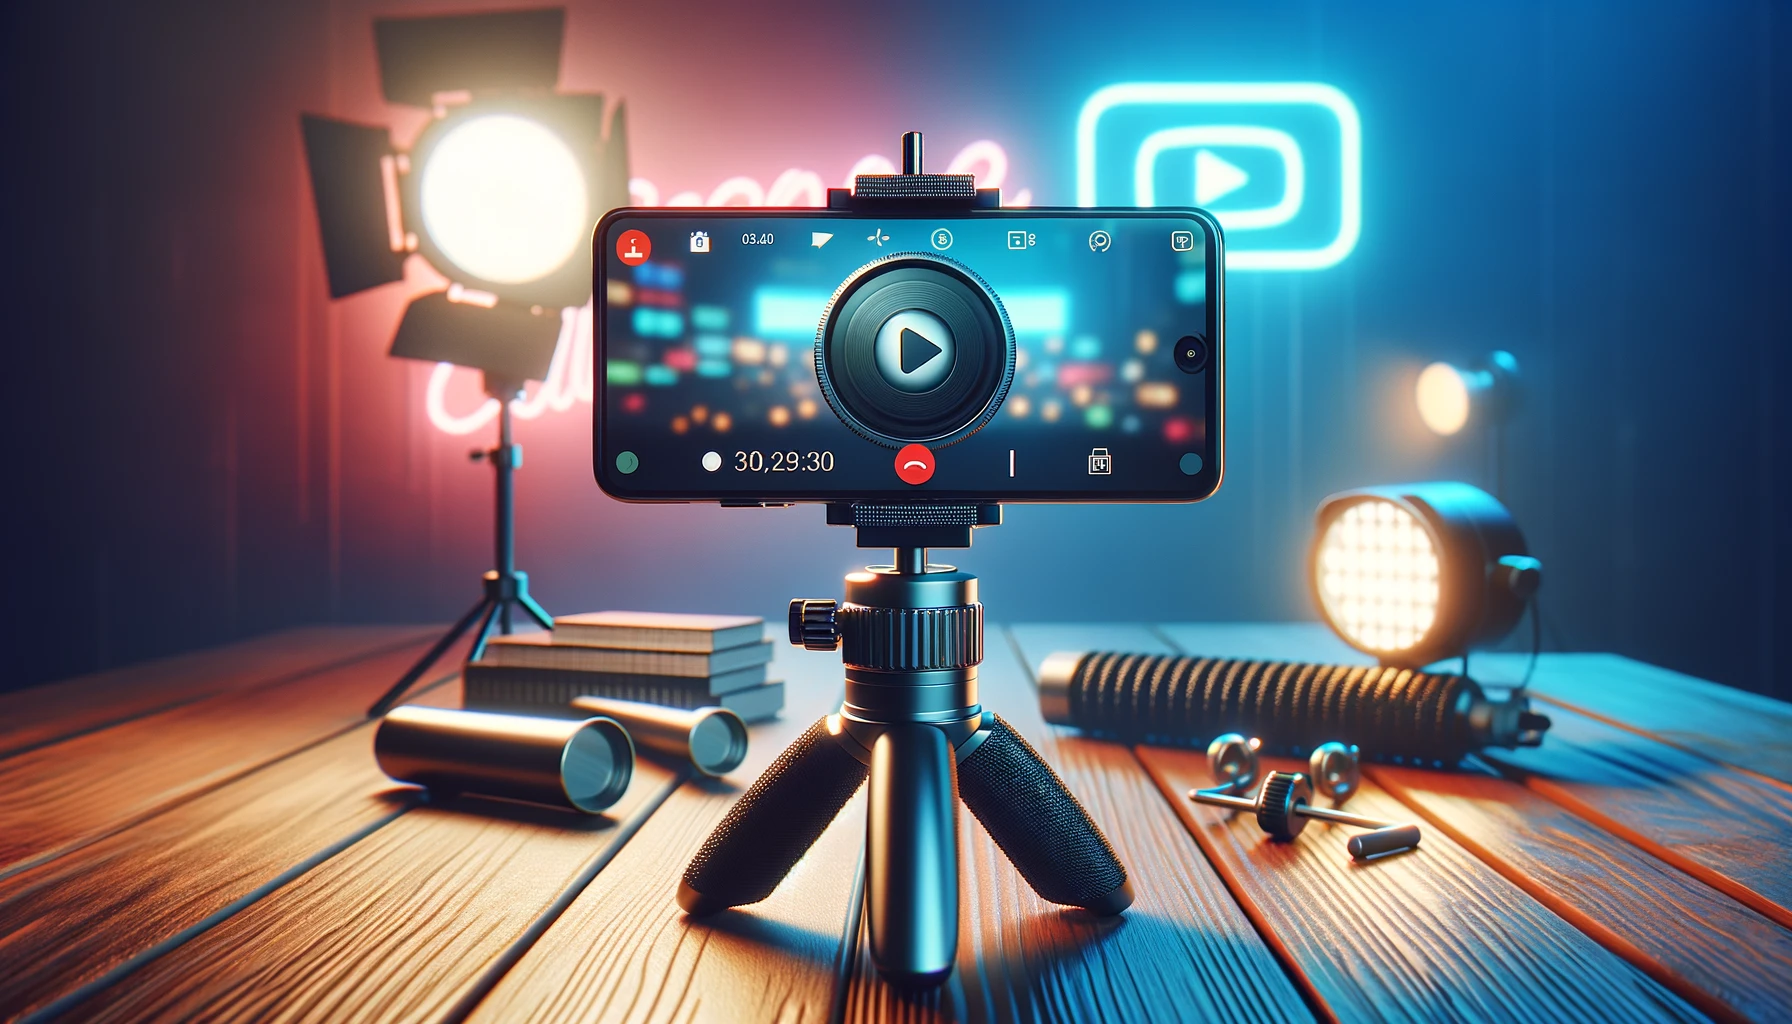
- Camera Equipment: Your journey starts with a camera. Fortunately, the camera on your smartphone is more than adequate. Modern smartphones offer HD quality that rivals many expensive cameras. Opt for the back camera for superior quality and remember, clarity is key – keep that lens clean!
- Lighting Is Key: Good lighting can transform your videos. You don’t need pricey equipment; even well-placed LED light bulbs or natural light can work wonders. Position yourself facing a light source like a window or a lamp with a 5000-6000 Kelvin bulb for that natural daylight effect.
- Crystal Clear Audio: This is where you don’t want to compromise. Viewers might forgive a less-than-perfect video quality, but poor audio is a deal-breaker. Use a clip-on microphone or ensure a quiet recording environment. Remember, proximity to your smartphone’s mic matters!
- Stable Shots: A shaky video is a no-go. Use a small tripod or improvise with books and rubber bands to keep your phone stable.
- Editing Software: Editing can elevate your content. Free software like DaVinci Resolve offers a range of features without emptying your pockets.
With these components, you’re well on your way to creating content that resonates with your audience without spending a fortune.

The Importance of Audio Quality
Let’s talk audio – the unsung hero of video production. It’s easy to get caught up in visual quality, but here’s the deal: your viewers are more likely to forgive a video that’s a bit off visually than one with poor audio. High-quality audio enhances the viewer experience, making your content more enjoyable and professional. It’s about clarity and engagement. If your audience struggles to hear you, they’ll likely bounce off your video faster than you can say “like and subscribe.” So, invest in a decent microphone or focus on creating a quiet recording environment. Remember, your message is only as good as how clearly it’s heard!
Maximizing Smartphone Use for Video Production
Your smartphone is a powerhouse for video creation, and with a few tricks, you can make it look incredibly professional. Here’s how:
- Choose the Right Settings: Make sure your phone is set to record in HD (1920×1080). This ensures high-quality footage without the need for 4K.
- Use the Back Camera: It’s generally higher quality than the front. Yes, it takes a bit more effort to frame your shot, but the improved video quality is worth it.
- Clean the Lens: A simple wipe can dramatically improve the clarity of your videos.
- Orientation Matters: Always record horizontally for YouTube. Vertical videos are a no-go as they look amateur on the platform.
- Lighting: Natural light works wonders. Face a window or use LED lights with a color temperature close to natural daylight (5000-6000 Kelvin) for a professional look.
- Mindful Background: Keep your background tidy and non-distracting. It’s all about making you, the creator, the focus.
- Stabilize Your Phone: Use a tripod or improvise to keep your phone steady. Shaky footage can detract from your content’s quality.
- Sound Check: Good audio is crucial. If you don’t have a mic, record in a quiet room and stay close to your phone to ensure clear audio pickup.
By leveraging these tips, your smartphone can rival traditional cameras, making your journey into YouTube content creation both cost-effective and high-quality.
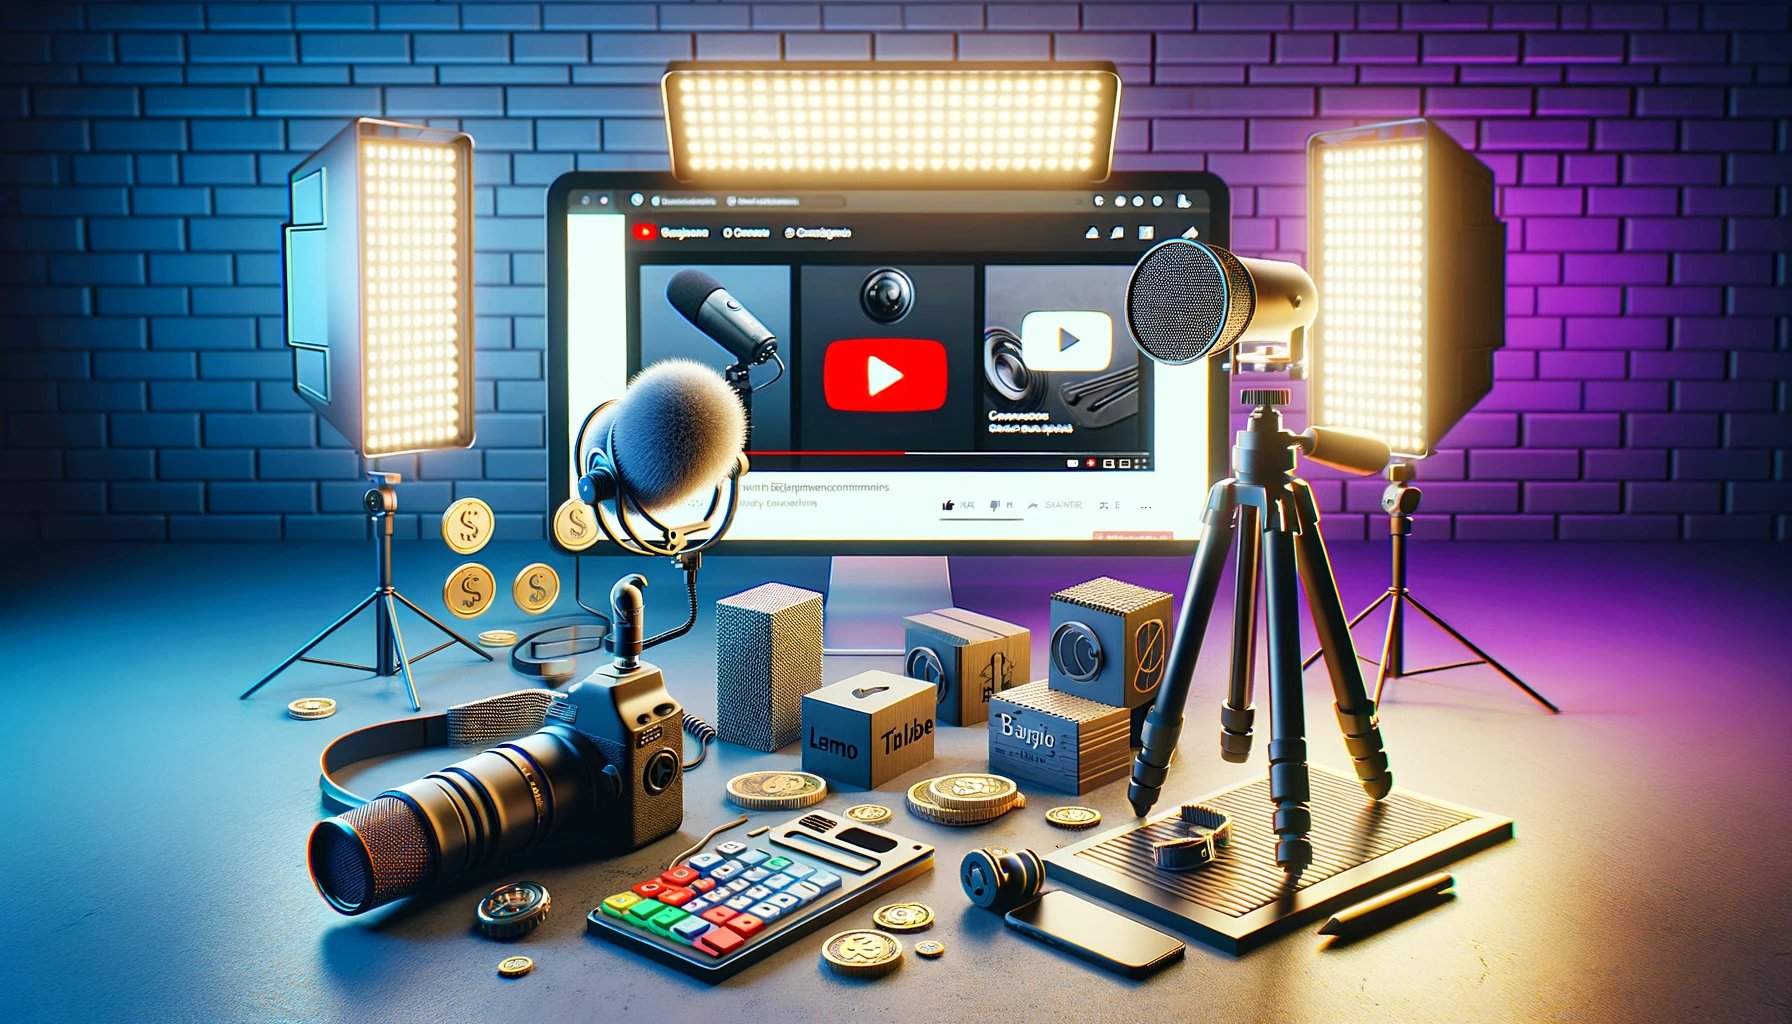
Product Recommendations and Budget Tips
To help you build your ultimate YouTube setup within a $500 budget, here are some product recommendations and tips:
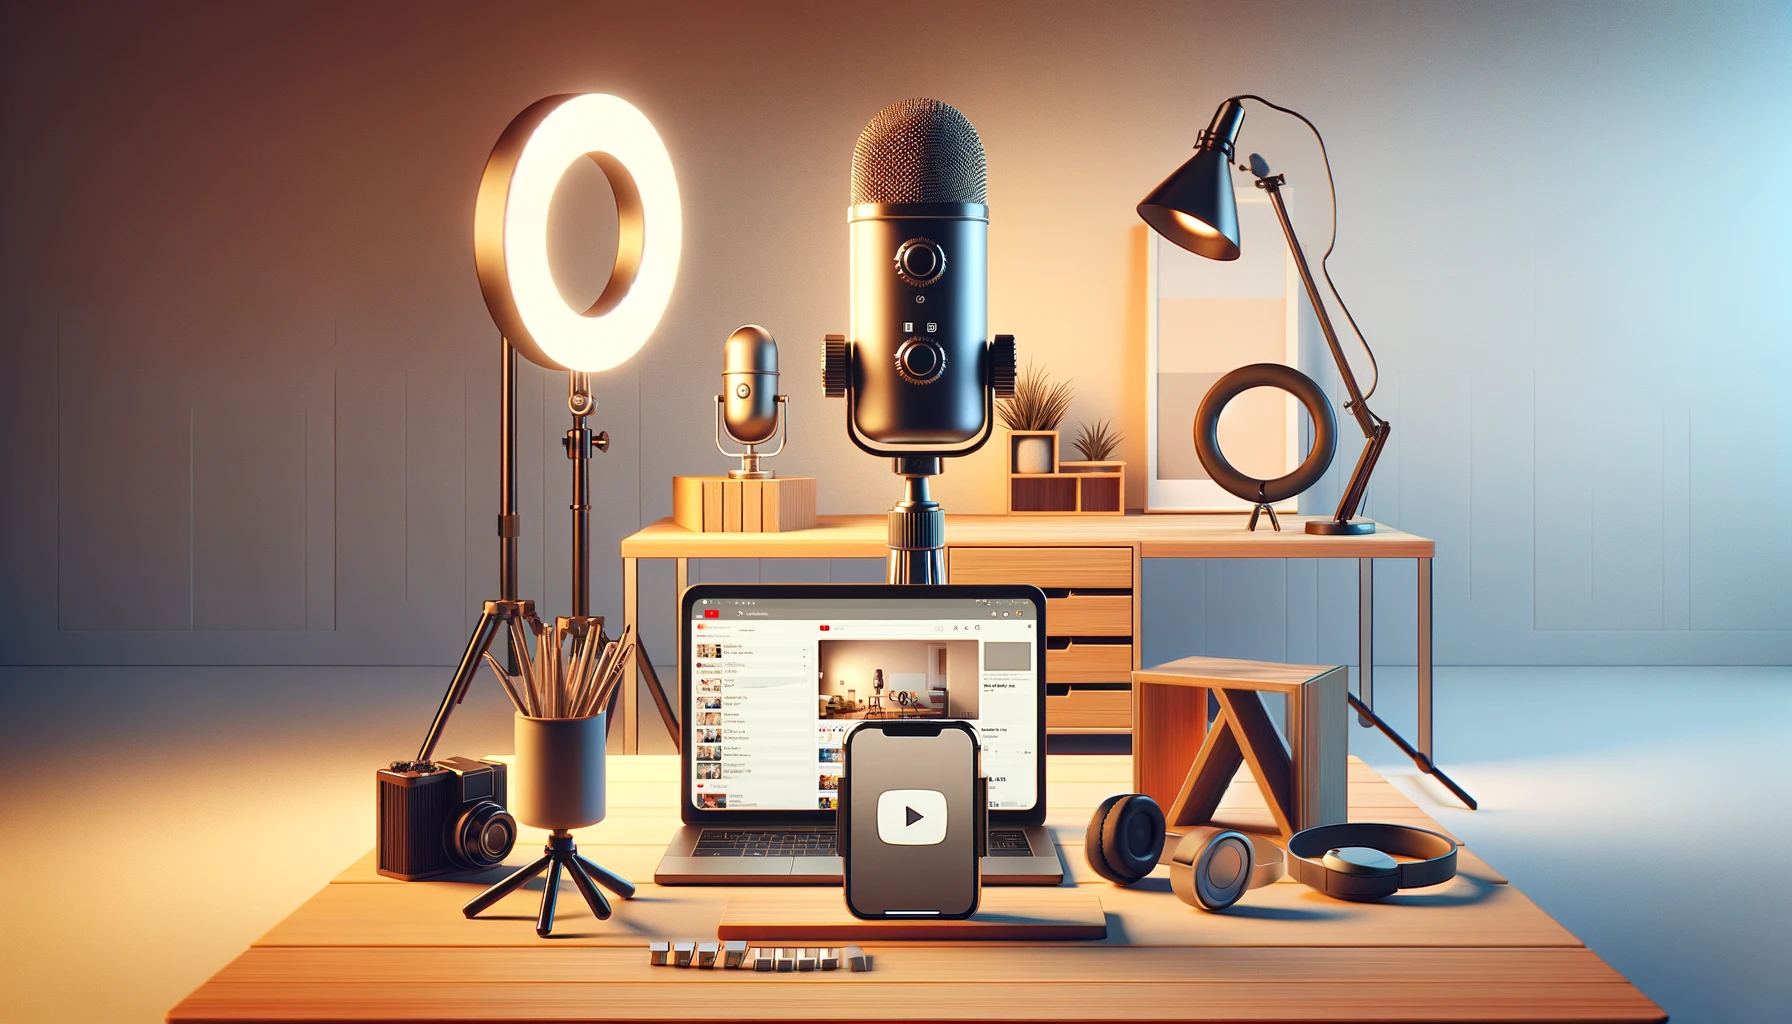
- Microphone: Opt for a lavalier microphone for flexibility and clarity. It’s great for both indoor and outdoor recording.
- Lighting: A ring light or a softbox light can offer even, diffused lighting. They’re affordable and can dramatically improve your video quality.
- Tripod: Invest in a sturdy tripod that’s compatible with smartphones. It’s crucial for stable, professional-looking shots.
- Editing Software: Free options like DaVinci Resolve offer robust features without any cost.
- Budgeting: Keep an eye out for sales and discounts on Amazon. You can often find quality equipment at a reduced price.
- Prioritize: Spend more on audio and lighting, as they have the most significant impact on video quality.
- DIY Solutions: Get creative with DIY solutions for things like stabilizing your phone or improving room acoustics.
Remember, a little bit over $500 might be necessary for the best value, but with these recommendations, you’ll have a setup that meets your needs without compromising quality.
Kickstart Your YouTube Journey on a Budget
Embarking on your YouTube journey doesn’t require a hefty investment. With the right choices and a $500 budget, you’ve got everything you need to create content that stands out. Remember, great audio and lighting can make a world of difference, and your smartphone is a surprisingly powerful tool for video production. Keep experimenting, learning, and evolving your setup as you grow.
Don’t forget to check out my full video for more insights and detailed reviews of the products mentioned. If you have any questions or need further guidance, drop them in the comments below. Happy YouTubing, and here’s to your success on a budget!
FAQ: Building a Budget-Friendly YouTube Setup
Q1: What are the best budget microphones for YouTube videos? A1: Lavalier microphones like the Rode SmartLav+ and USB microphones such as the Blue Snowball are great budget options. They offer clear audio quality without a hefty price tag.
Q2: Can I use natural lighting for my YouTube videos, and if so, how? A2: Absolutely! Position yourself near a window to use natural daylight. Ensure the light faces you for even illumination. Avoid direct sunlight, as it can create harsh shadows.
Q3: What are some effective, low-cost editing software options for beginners? A3: DaVinci Resolve and HitFilm Express are excellent free editing software with a range of features suitable for beginners and advanced creators alike.
Q4: How do I improve the video quality when using a smartphone for YouTube? A4: Use the back camera for better quality, ensure good lighting, keep the lens clean, and use a stabilizer or tripod to avoid shaky footage. Also, record in HD (1920×1080) for optimal clarity.
Q5: Are there any must-have accessories for a budget YouTube setup? A5: A sturdy tripod, a good microphone, and basic lighting equipment like a ring light or LED panel are essential. Additionally, consider a background or green screen for a more professional look.